

In the last couple of blogs, we have covered how the Navicat for MongoDB database administration tool makes working with documents and collections easier. For instance, documents can be presented in one of three ways: in Grid view, Tree view, or JSON view. But that's just the tip of the iceberg. The Collection Tab toolbar includes a number of commands for each of the three View types. In today's blog, we'll take a closer look at a few of the Grid View Toolbar Commands of the Grid View.
The Grid View Toolbar at a Glance
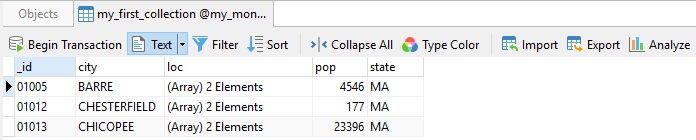
When a Collection Tab is set to Grid View, you'll notice nine command buttons on the tab toolbar:
Let's go over some of these from left to right:
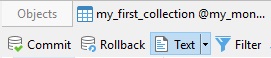
- Begin Transaction: As the name implies, the Begin Transaction button starts a transaction. If 'Auto begin transaction' is enabled in Options, transaction will be started automatically when opening the data viewer. After the Begin Transaction button is clicked, its label changes to 'Commit' and the 'Rollback' button is added as well:
Clicking 'Commit' makes permanent all changes performed in the current transaction, while clicking 'Rollback' undoes the work done within the current transaction.
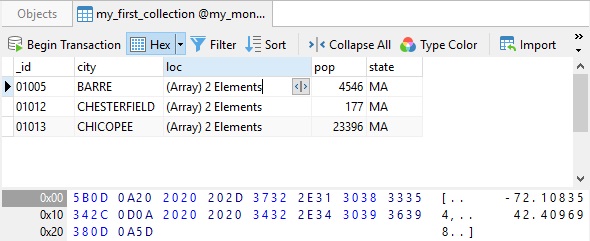
- Assistant Editor: Navicat provides powerful assistant editors to view and edit Text, Hex, Image, and Web. The editor allows you to view, update, insert, or delete data in a table or a collection. Select Text, Hex, Image, or Web from the toolbar to activate the appropriate viewer/editor:

For example, selecting "Hex" from the list displays the hex editor at the bottom of the tab:
- Filter Wizard: The Filter Wizard allows you to create and apply filter criteria to the data grid, much in the same way that a WHERE clause does to query results.
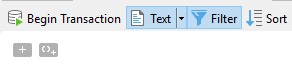
- Click 'Filter' from the toolbar to activate the filter.
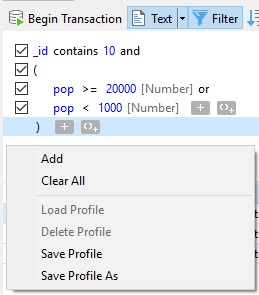
- To add a new condition to the criteria, click the [+] button. You may also add a condition with parentheses by clicking on [()+]:
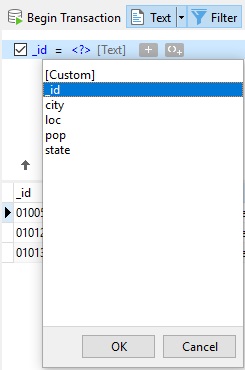
- Click on the field name (next to the checkbox) and choose a field from the list:
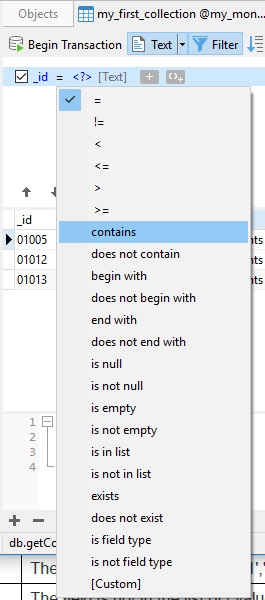
- Click on the operator (next to the field name) to choose a filter operator. You can choose '[Custom]' from the list to enter the condition manually:
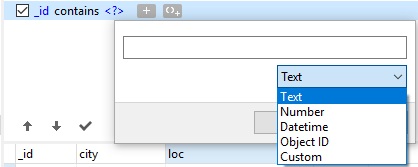
- Click on '<?>' to activate the Criteria Editor dialog and enter the criteria value(s). The data type used in the criteria values box is determined by the data type assigned to the corresponding field. You can also change the field type via the Field Types list:
- Repeat step i-v to add another new condition.
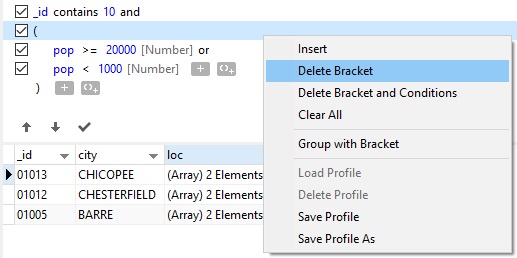
- To add parentheses to existing conditions, right-click on the selected conditions and select 'Group with Bracket' from the context menu. To remove the parentheses, right-click a bracket and select 'Delete Bracket or 'Delete Bracket and Conditions':
- With multiple criteria, clicking on the logical operator (next to the criteria values) toggles between "and" and "or".
- Click on the Apply Filter button to see the result of the filtering expression:

- To save your filter criteria as a profile for future use, right-click anywhere in the filter editor and select 'Save Profile' or 'Save Profile As' from the context menu:
- Sort Documents: MongoDB stores documents in the order in which they were added to the collection. Sorting in Navicat is used to temporarily rearrange documents, so that you can view or update them in a different sequence.
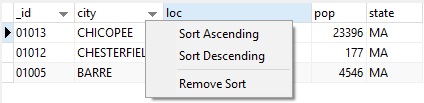
One way to sort by one field is to click the Sort arrow on the right side of the field header and select 'Sort Ascending' or 'Sort Descending' from the context menu:
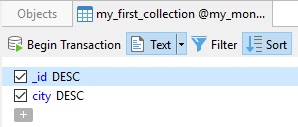
To sort by multiple fields, click the 'Sort' button from the toolbar. In the Sort Editor, you can enter any number of fields and set the sort order for each:
That's just a few of the Collection Tab toolbar commands. We'll explore the remaining Toolbar Commands in the next blog.


