

All of Navicat's database management and design products, i.e. Navicat MySQL, MariaDB, SQL Server, SQLite, Oracle, PostgreSQL, and Premium, include a Navigation Pane. It provides more than a means to navigate between your connections, schemas, databases and database objects. In Non-Essentials Editions, it also features Virtual Grouping, which is a logical grouping of objects by categories. In today's tip, we'll be going over how to manage your connections within the Navigation Pane. In part 2 we'll learn how to utilize Virtual Grouping.
Navigation Pane Basics
Located on the left-hand side of the Navicat GUI, the Navigation pane employs a tree structure which allows you to invoke actions upon the database and its objects through pop-up menus. The Navigation pane is visible by default, but can be toggled via the View -> Navigation Pane -> Show Navigation Pane command from the main menu.
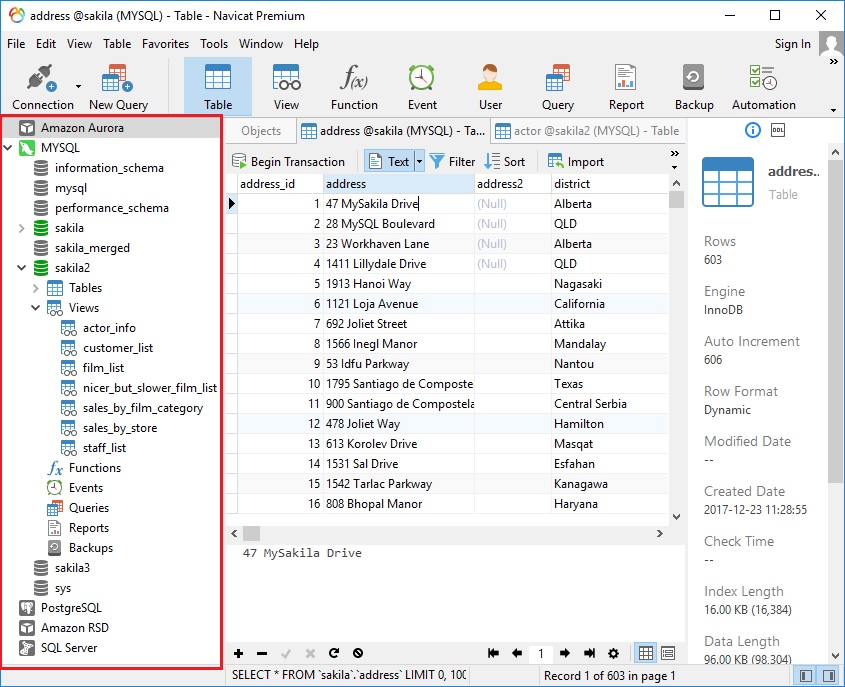
To connect to a database or schema, you can simply double-click it in the pane.
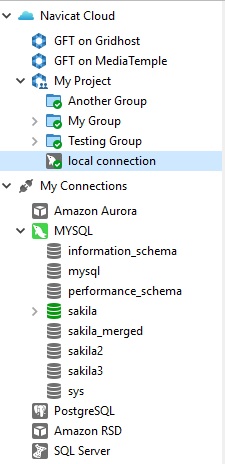
When logged in to Navicat Cloud, the Navigation pane is split into a Navicat Cloud and My Connections sections.
Viewing Options
In the Options window, there is an option to Show objects under schema in navigation pane. When checked, all database objects are also displayed in the pane.
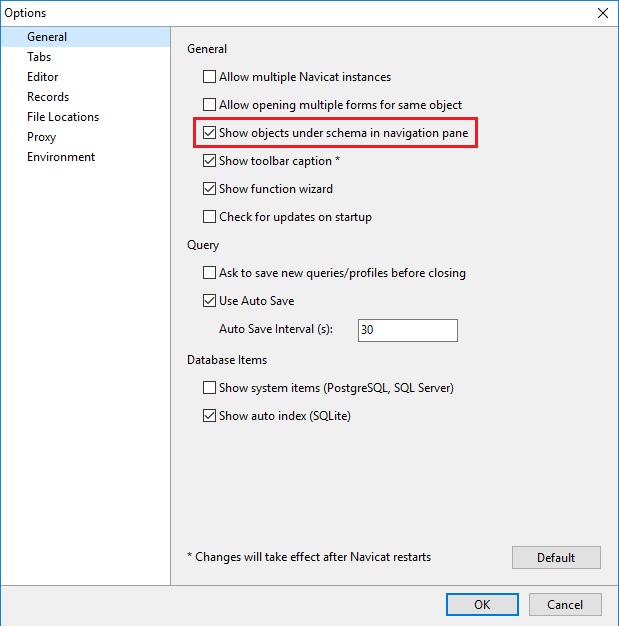
Otherwise, active connections will display without an expand arrow beside them.
Note that the Show objects under schema in navigation pane option does not affect currently active connections.
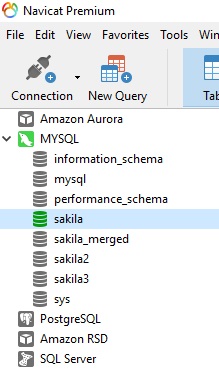
To show only those objects whose connection is currently active, choose View -> Navigation Pane -> Show Only Active Objects from the main menu.
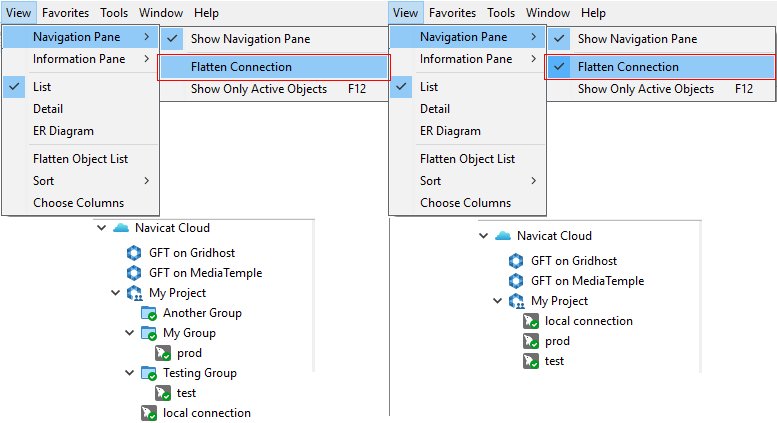
Finally, you can hide the group structure in the Navigation pane by selecting View -> Navigation Pane -> Flatten Connection from the main menu.
Filtering
You can filter the tree by setting the focus on any object within the tree and type a search string. As you type, objects that do not match the search string will be hidden from view.
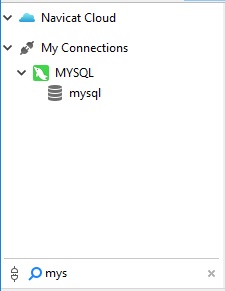
Clearing the search field restores hidden objects.
Moving/Copying a Connection to a Project
All Navicat Cloud objects are located under different projects. These may be shared between Navicat Cloud accounts for collaboration. Quite often, you'll want to move or copy a local connection to a project for sharing. Here's how:
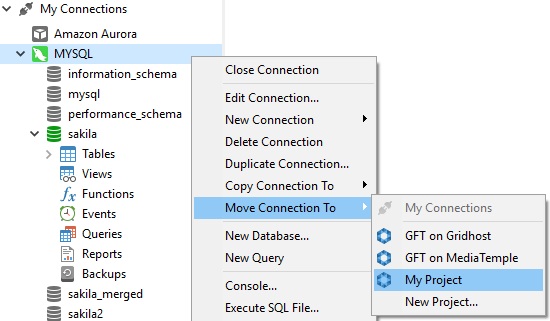
- Right-click a connection under My Connections and choose Move Connection to or Copy Connection to from the popup menu.
- You can either select an existing project or create a new one.
- The connection will then be moved or copied to Navicat Cloud. All query files and virtual groups associated with the connection will also be moved or copied.
Move/Copy a Connection to My Connections
Likewise, you may also want to move or copy a connection from the Cloud to your local connections, under My Connections. To do that:
Conclusion
In today's tip, we learned how to manage your connections within the Navigation Pane. In part 2 we'll explore how to utilize Virtual Grouping.


