

The Virtual Group feature provides a mechanism for logical grouping of the Navigation Pane's database objects by category, so that all objects are more effectively organized. It can be applied to many different object types, including:
- Connections
- Tables
- Views
- Functions
- Queries
- Reports
- Backups
- Automations
- Models
Virtual Grouping is supported by all Non-Essentials Editions of Navicat's database management and design products, including Navicat MySQL, MariaDB, SQL Server, SQLite, Oracle, PostgreSQL, and Premium.
In part 1 of this 2 part series, we learned how to manage connections within the Navigation Pane. In today's conclusion, we'll explore the Virtual Grouping and Connection Colouring features.
Creating a New Group
It's quite easy to create a new group. In fact, it only takes 2 steps!
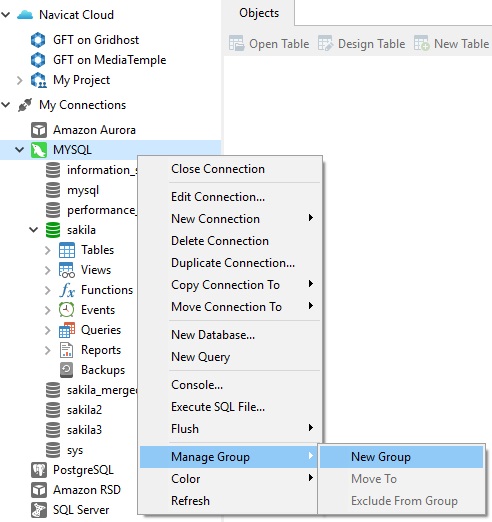
- In the main window, right-click anywhere in the Navigation pane or the Objects tab and select New Group or Manage Group -> New Group from the context menu.
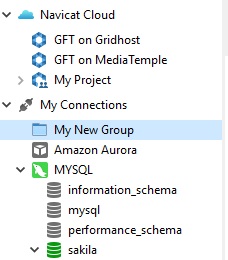
- The new group with then appear in the Navigation Pane as a text field. Enter a name in the new group text field and press ENTER to save the name.
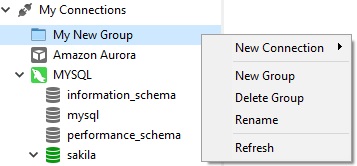
Once you've created a new menu, right-clicking it will present a context menu that allows you to:
- Add a new connection to the group.
- Create another new group.
- Delete the group.
- Rename the group.
Moving an Object to a Group
Once you've created a group, there are a couple of ways to move an object to it.
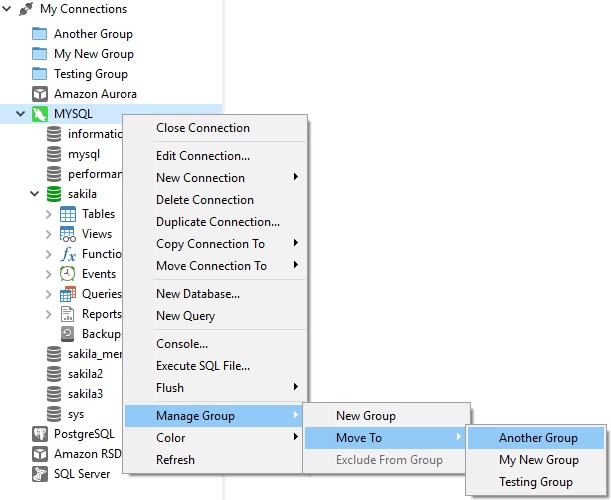
- In the main window, right-click an object and select Manage Group -> Move To.
- Select an existing group.
Alternatively, you can simply drag an object to the group.
Moving an Object out of a Group
A similar process may be employed to move an object out of a group:
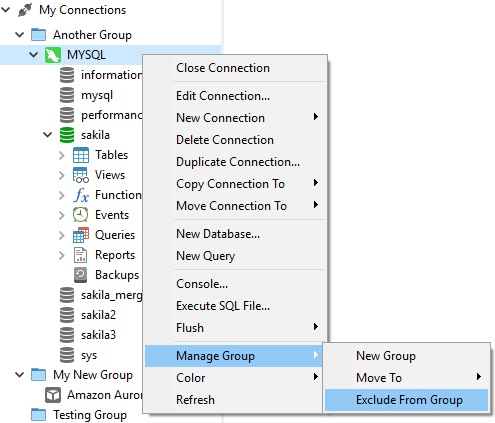
- In the main window, right-click an object and select Manage Group -> Exclude From Group.
You can also move an object out of a group using drag & drop.
Hiding the Group Structure
If you want to hide the group structure, you can select the View -> Navigation Pane -> Flatten Connection and View -> Flatten Object List commands from the main menu.
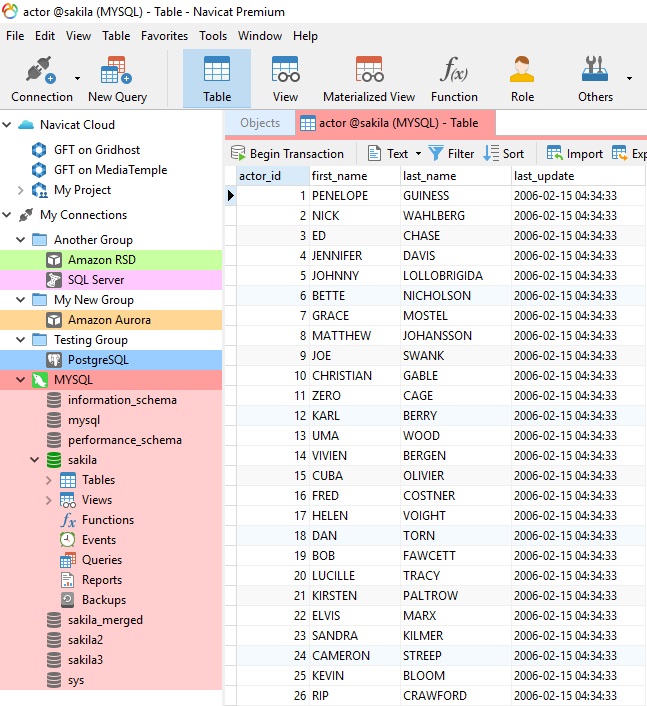
Connection Colorings
Navicat supports connection highlighting via different colors for easier identification of connections and their database objects. It lets you immediately know which connection a database belongs to when you're working with its objects. The highlighted color displays in the Navigation pane as well as the menu bar or tab if it's the object window.
To highlight a connection, right-click it in the Navigation pane and select Color.
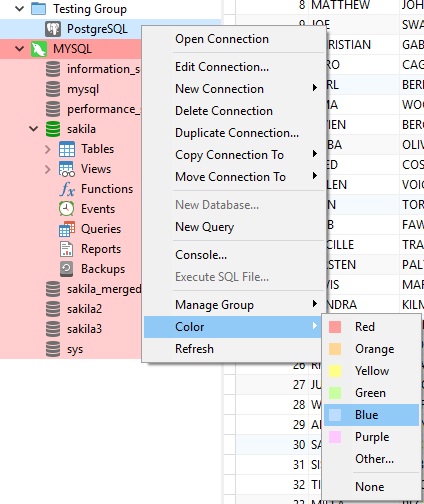
Selecting Other... from the list opens the system color dialog so that you can create your own custom color.
To remove the color from the connection, right-click it and select None from the color context menu.
Conclusion
In this 2 part series, we learned how to manage connections within the Navigation Pane, apply Virtual Grouping to Navigation Pane objects, and differentiate connections using various colors.


