Automation (Available only in Enterprise and Standard Edition)
Navicat allows you to automate the execution of jobs at one or more regular intervals, beginning and ending at a specific date and time, using the Windows Task Scheduler. You can define a list of jobs to be performed within one batch job, either to run manually, at a specified time, or periodically.
Supported automation tasks include: Query, Backup, Data Masking, Data Transfer, Data Synchronization, Data Generation, Data Dictionary, Aggregation Pipeline, BI, Model, Import, Export, MongoDump, MongoImport, MongoExport, and MapReduce.
Hint: You can run a batch job in Windows Command Prompt with this command:
navicat.exe -batchjob BatchJobName
Example: navicat.exe -batchjob job1
Create Batch Job
Creating a batch job allows you to group multiple database operations into a single, streamlined workflow. Once compiled, these combined tasks can be executed sequentially either on-demand or automatically on a schedule.
To create a batch job
In the main window, click
 Automation.
Click
 New Batch Job.
In the bottom pane of the General tab, select the job type and locate your jobs.
Hint: You are allowed to run profiles from different servers in a single batch job.
Move jobs from the Available Jobs list to the Selected Jobs list by double-clicking or dragging them.
(Optional) In the Advanced tab, set email notification.
Click
 Save.
Save.Click
 Start to run the batch job immediately, or
  Set Task Schedule to automate it.
Hint: Batch Job files are saved under the Profiles Location.
Special Job Actions
If you want to backup whole server, you can select the connection and select Backup Server xxx.
You can export BI dashboards or model data dictionaries to PDF files. Adding a BI workspace file to the Selected Jobs list will allow you to choose the export file format and specify the target directory. You can enable the Append timestamp to file name option to append timestamp to the name of the exported file.
Exported files can be added to the batch job as mail attachment. Select the job in the Selected Jobs list and click  Attach to Email or
  Detach from Email to add or remove the mail attachment.
Advanced Options & Email Notification
Navicat allows you to generate and send personalized emails with the files returned from a schedule. You can configure these settings in the Advanced tab.
Option |
Description |
Continue on error |
Ignore errors that are encountered during the job execution process. |
Enable Batch Job History |
Log detailed records of every batch job run for both manual executions and automated schedule runs in the History tab. |
Send Email |
Navicat allows you to generate and send personalized emails with results returned from a schedule. The results can be emailed to multiple recipients. |
When |
Specify when to send notification emails: the task completed successfully and/or failed. |
From |
Specify email address of sender. For example, someone@navicat.com. |
To, CC |
Specify email addresses of each recipient, separating them with a comma or a semicolon (;). |
Subject |
Specify the email subject with customized format. |
Body |
Write email content. |
Host (SMTP Server) |
Enter your Simple Mail Transfer Protocol (SMTP) server for outgoing messages. |
Port |
Enter the port number you connect to your outgoing email (SMTP) server. |
Use authentication |
Check this option and enter User Name and Password if your SMTP server requires authorization to send email. |
Secure connection |
Specify the connection to use TLS, SSL secure connection or Never. |
Send Test Mail |
Navicat will send you a test mail indicating success or failure. |
Set Task Schedule
You can click Set Task Schedule to set schedule for running a batch job and click  Delete Task Schedule to remove the schedule.
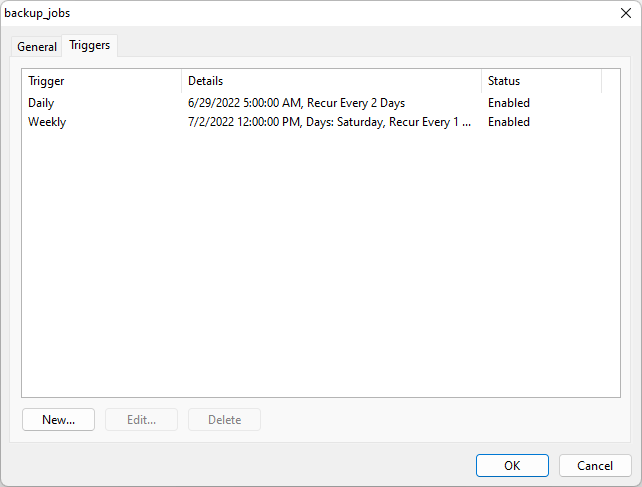
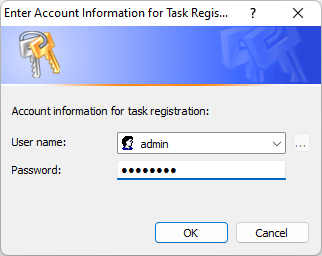
If you choose Run whether user is logged on or not in the General tab, then you must provide your OS user password in Windows Scheduler when you save the schedule.
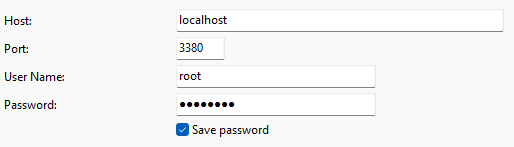
Note: Please save the batch job before setting schedule. Passwords must be saved in the Connection window before running your schedule.
Enable Batch Job History
To maintain a comprehensive record of all automated and manual operations, you can enable logging within the job settings:
In the batch job window, select the History tab.
Click Enable Batch Job History.
Once enabled, Navicat automatically records details for every run, including execution timestamps, duration, and completion statuses within the History tab.